Working with malware is quite similar to analyzing dangerous pathogens — without proper security measures, your sample could escape and cause a potentially harmful infection. That’s why malware hunters utilize sandboxes — isolated environments where you can safely work with malware. Today, we’ll guide you through all the steps of creating a malware sandbox.
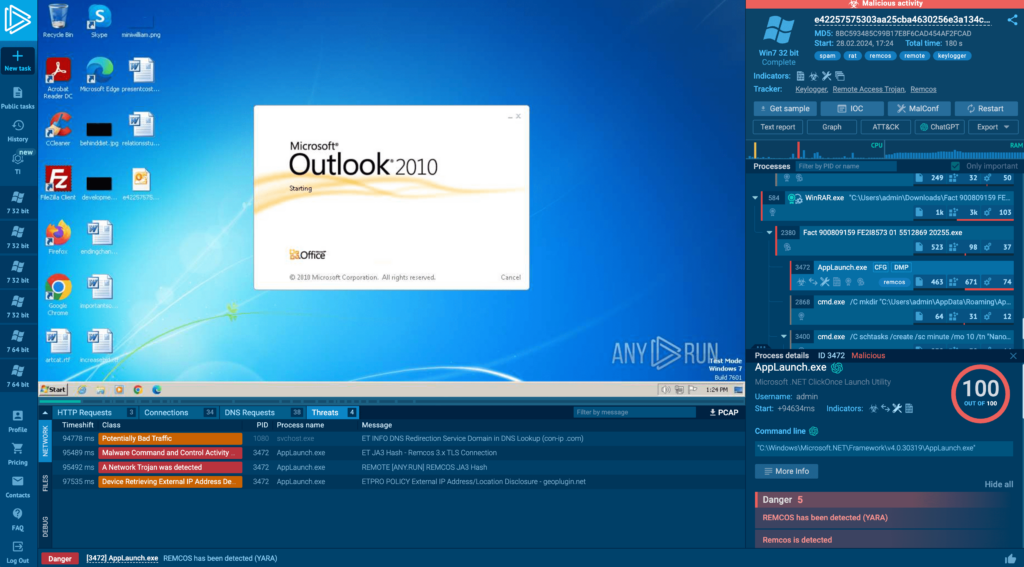
(Spoiler: you use ANY.RUN to replace a local setup in 95% of cases)
Why do you need a sandbox for malware research?
Why do you need a sandbox for malware research?
The purpose of a sandbox is to execute malicious code and observe its behavior within a controlled environment. This is particularly important when dealing with zero-day exploits, where the malware’s impact and payload are unknown. The sandbox environment is designed to be isolated from the host system, to prevent any compromise of critical infrastructure or even your personal computer.
When creating a sandbox, there are two main approaches you can take:
- Build a custom sandbox from scratch.
- Use a turnkey solution.
Both options are valid. What’s more, they can be utilized within the same research session for different purposes:
Custom sandbox: This approach allows you to bring your own tools into the environment, such as debuggers, disassemblers, and packet sniffers. However, setting up a custom sandbox requires a configuration process. You will need to create multiple VM instances with different operating systems: Windows 10 64-bit, Windows 10 32-bit sandbox, Windows 11, and so on. It takes a lot of time.
Turn-key solution: Come with all the necessary analysis tooling pre-installed and conveniently located in one place. They make it extremely simple to launch new analysis sessions and change the OS configuration whenever needed and then — collect IOCs that the malware left behind during execution.
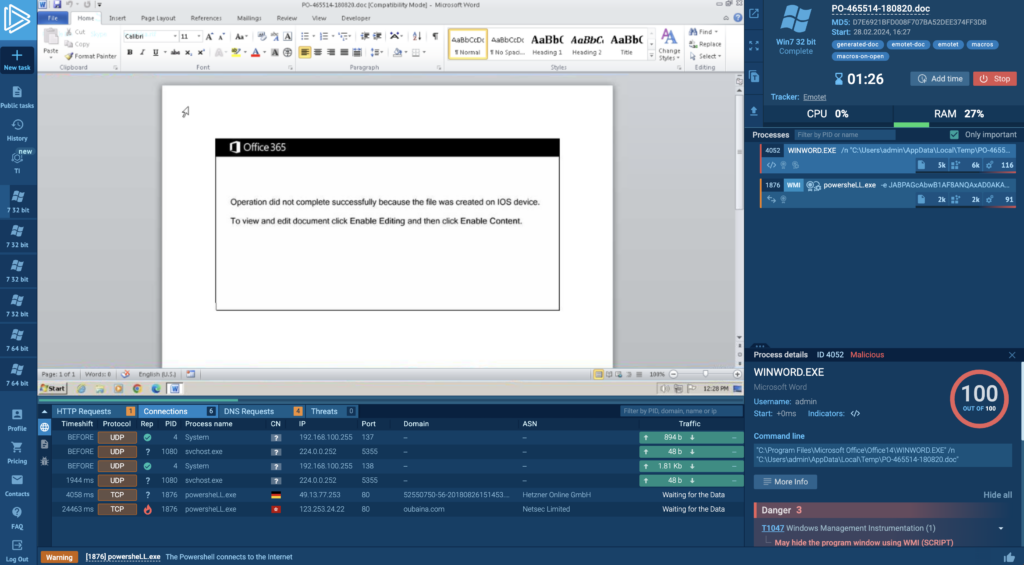
For example, ANY.RUN (above) offers an interactive virtual machine that you can launch directly in the browser. The service comes with a powerful analysis toolkit; You can easily:
- Collect IOCs not only from the hard drive but also from memory dumps and encrypted communications between malware and its control server.
- See how malware behavior corresponds to known TTPs in the MITRE ATT&CK Matrix.
- Launch an unlimited number of public analysis sessions (even with the free plan) and modify system configurations as needed. Private submissions are available with paid plans and their number is customizable based on your needs.
The 3 levels of sandboxes
Let’s take a step back from ready-made solutions; we’ll circle back to them at the end of the article. When it comes to custom solutions, sandboxes can have different levels of isolation from the host and use different approaches to create a virtual environment.
Here are the 2 common types of sandboxes:
- Virtualization: In this approach, the sandbox creates a complete virtual replica of the underlying hardware, including the CPU, memory and storage. Examples include virtual machines managed by hypervisors like VMware or VirtualBox.
- Containerization: Containers offer a lightweight alternative to full virtualization, where applications and their dependencies are packaged together and run in isolated environments called containers. Containers share the host system’s kernel, which results in less overhead compared to virtual machines. Popular containerization platforms include Docker and Kubernetes.
Virtualization is the simplest method when it comes to setup. But be careful; if configured incorrectly, it is easy to break the isolation between the host and the sandbox.
How to build a custom malware sandbox?
Let’s go over all the steps you need to set up a basic environment for researching malware:
1 . Install a virtual machine
Select a full virtualization virtual machine. Ideally, install it on a dedicated malware analysis computer. If that’s not possible, your main system will have to do. Consider using VMWare, VirtualBox, KVM, Oracle VM VirtualBox, Microsoft Hyper-V, or Parallels.
2. Allocate a realistic amount of resources
Modern malware is sophisticated. Some malware families run system checks to prevent execution within virtual machines. One way to get around this is adequate resource allocation: a minimum of 4 GB RAM, at least 2 CPU cores, and a storage capacity of 80 GB or more.
3. Populate the OS with software
If you load malware into a bare Windows installation, the sample might detect analysis and stop running. Even worse, it might pretend to be harmless, leading you to make the wrong assumption. The fix? Install a few applications like MS Word, Chrome, Adobe Acrobat, or any others.
4. Mimic user activity
We still haven’t quite outsmarted the malware. Even though the computer looks “lived in” now, it lacks usage history, and some malware samples will detect this from empty logs. Try creating, opening, saving, and deleting a few files to build logs and generate temp files. You could use Regshot or Process Monitor to log changes in the registry and file system. Just keep in mind that malware might detect these programs while running.
5. Imitate a network connection
Sometimes, malware families connect to legitimate websites like Google to probe for fake networks. Tools like INetSim and FakeNet mimic a real internet connection to catch the requests made by malware. You can also see what the analyzed sample is connecting to using WireShark.
6. Install analysis tools
At this stage, we’ve got a virtual machine set up realistically. However, if you’re not using Flare VM, it won’t come with the necessary tools for actual analysis. You’ll need to install your own.
Here are some popular analysis tools among reverse engineers:
- Debuggers: x64dbg allows to see what malware does in the system when you don’t have access to the source code.
- Disassemblers: Ghidra simplifies reverse engineering and offers decompiler output. It can also work as a debugger.
- Traffic analyzers: Wireshark tracks network communication requested by malware.
- File analyzers: Process Monitor, ProcDOT help in observing how processes interact with files.
- Process monitors: Process Explorer, Process Hacker keep an eye on malware activities.
As you can see, there are quite a few tools required in a malware lab. The benefit is that each tool in this list is powerful, and mastering them fully enables efficient work. However, the drawback is that each tool has a unique interface and workflow so there’s quite a steep learning curve.
This is where turn-key services like ANY.RUN offer an advantage. They come pre-equipped with all the necessary functionality while also providing a consistent interface that you only need to learn once.
7. If you’re using Windows, disable Windows Defender and Windows Firewall
Antivirus software like Windows Defender can interfere with your analysis, so you might be better of disabling them.
Let us show you how ANY.RUN can help your SOC team – book a call with us ⬇️
Custom sandbox best practices
When you’re operating within a custom sandbox, particularly if it’s running on the same PC or laptop you use to access production resources (which is not recommended), there’s always a risk of malware escaping onto the host system. Usually, this happens due to human error. What if you accidentally load a file with malware into a VM instance with enabled network access because of unclear naming?
Here are a few suggestions to make sure that this — and other dangerous scenarios — don’t come true when working with a custom sandbox:
Use clear naming for the ISO file
If you are using one, make sure to give the ISO file a clear, descriptive name. This way, you’ll always remember that this installation contains malware, and you won’t accidentally run it somewhere else. A suggestion for naming could be something like “malware_[some identifier]_[system name and version].iso“.
Apply the same naming strategy to the malware file, folders, etc.
Keep malware in a separate folder on the host
Keep your malware samples in a separate folder on your host system. Just make sure the folder name is clear, like “sample001_shared”. This folder will be used for transferring samples into the virtual machine (VM).
Don’t allow anything other than zipped, password protected archives onto the host
This ensures that malware remains inactive within the archives and can’t accidentally be triggered.
Give the VM read-only permission for the shared folder
Make sure to give your VM read-only permissions for the shared folder. This prevents malware from writing files onto your host system. Also, double-check that you’ve restricted permissions to the shared folder only, minimizing malware’s potential read access.
Check that the configuration works before adding malware
Create a test file and see if you can read it from the VM. If you can — that’s great. Now also try to write to the folder. If you can — abort immediately.
Snapshot the VM
Use VM snapshots to save the current state of your VM. This way, you can always revert back to a safe state before executing any malware. It’s a handy feature for running tests or undoing any potential damage.
Is there a more efficient option for analyzing malware?
The short answer is yes. We’ve teased it throughout the article. It’s to utilize a turn-key analysis solution that provides all the necessary analysis tools and none of the security concerns mentioned earlier. One example of such a service is ANY.RUN.
ANY.RUN is an online malware analysis sandbox that you can use for detection, monitoring, and analyzing threats. It helps SOC and DFIR teams and 400,000 independent professionals to investigate incidents and streamline threat analysis.
Advantages of ANY.RUN:
- Real-time results: it takes about 40s from file upload to malware detection, and ANY.RUN identifies many families automatically through YARA and Suricata rules.
- Interactivity: Unlike many automated turn-key solutions ANY.RUN is fully interactive (you can engage with the VM directly in the browser). This feature helps prevent zero-day exploits and sophisticated malware that evades signature-based detection.
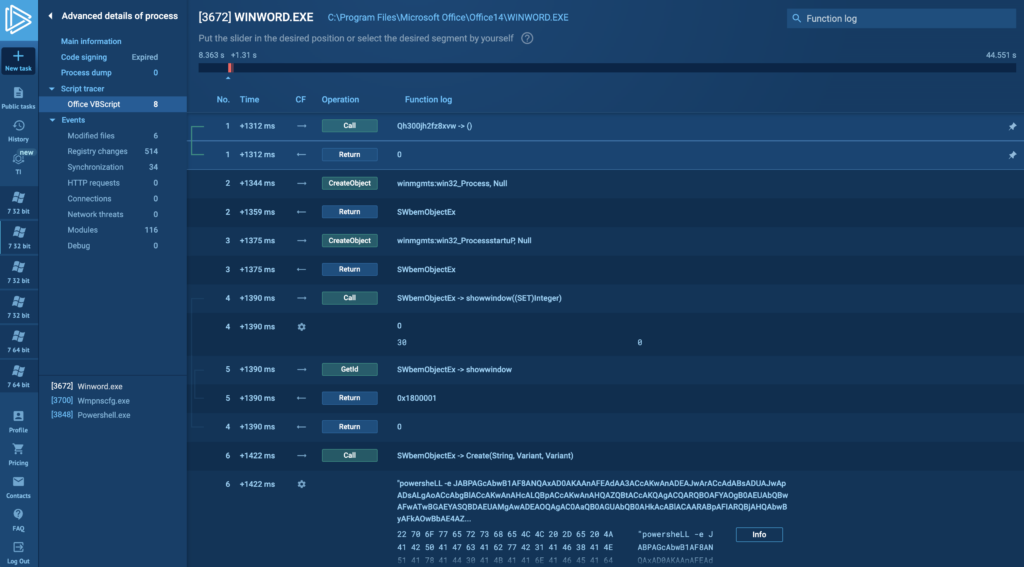
- Tailored for malware analysis: There’s built in network analysis tools, debugger, script tracer, and automatic config extraction from memory, among other useful tools.
- Cost-savings: For businesses, ANY.RUN is more affordable to run than an on-premises solution because it doesn’t need any setup or maintenance time from your DevOps team.
- Efficient onboarding of new hires: ANY.RUN’s intuitive interface means that even Junior SOC analysts can quickly learn to analyze malware and extract IOCs.
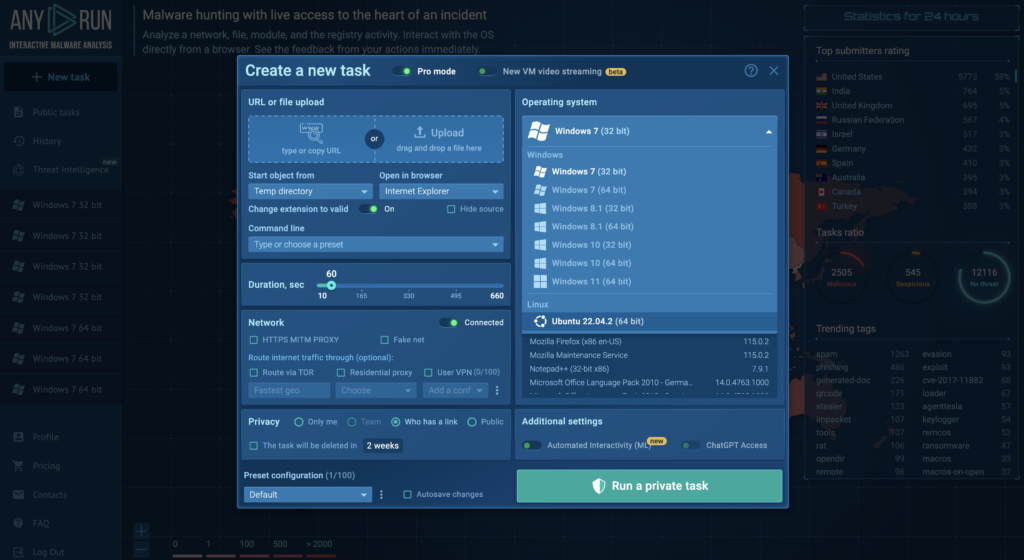
ANY.RUN supports Windows, Linux, and Android operating systems, each equipped with a pre-installed software set and configured to simulate realistic behavior. This means you won’t ever need to go through the hassle of generating logs or creating artificial user activity.
If this sounds like something that could benefit you or your team, be sure to give ANY.RUN a try. Best of all, it’s starter plan is completely free.
2 comments





We are registered contractors of Ministry of Interior and Ministry of Defence Pakistan since 2003.
Please see if you may comply with the following specs for Sandbox for Malware Analysis;
1-On-premise solution for detailed analysis of files so that files do not reside on 3rd party servers.
2-Should support all kind of file types such as Executables, PDFs, MS office files, graphic files, Archived files, java scripts, HTML pages, URLs etc.
3-Auto analyze files and malwares along with mitre ATT&CK C&C mapping.
4-Cater for all malware anti analysis approaches.
5-Future Proof – sandbox must be updated regularly with latest malware methodologies.
6-Should be able to generate / export malware analysis reports in different formats like PDF, excel etc.
7-Support for latest Android, iOS, Win OS, Linux. MOST IMPORTANT.
8-Sample submission through link.
9-Sample submission success.
10-Threat reputation Info & Attribution (APT’s attribution).
11-OS Sp (Win, Android).
12-Network Analysis.
13-MITRE ATT&CK Mapping.
14-2nd stage virus download.
15-Memory dump.
16-Support full air-gapped and CentOS 9.
Hello Shahzad,
Please contact our experts at support@any.run. They will be happy to answer all of your questions.